Welcome to the official guide for building within the RenLUG City! Here you’ll find the standards we use to ensure our collaborative displays are cohesive, modular, and easy to integrate. From MILS-based terrain and ballasted train tracks to street widths, sidewalk styles, and modular connections, this page outlines the shared framework that brings our city to life. Whether you’re building your first structure or designing an entire city block, these guidelines help make sure your creations fit seamlessly into RenLUG’s collaborative displays. Let’s build a better city together!
Want to participate in a RenLUG city diorama display? The easiest way to join in is to build a City Block Module and bring it to an event!
Don’t have a full block? That’s perfectly fine.
- Build individual buildings on 48×48, 32×32 (most common) or 16×32 MILS plates and have the layout planner(s) combine with other members builds to create a full city block module
- Team up with another member to complete a full block module
- Bring single buildings for placement on the city edges
We design our layouts to be collaborative and flexible, bring what you have and we’ll integrate it.
👉 Important: When signing up for an event, list what you’re bringing so layout planners can allocate space appropriately.
Standard Block Dimensions
Standard Block Size
- 2×3 configuration of 32×32 modules
- Total footprint: 64×96 studs
- Built using MILS standard
- Structures must align cleanly with RenLUG road modules
- If your build includes driveways, alley entrances, loading docks, or sidewalk breaks, be sure to incorporate the corresponding cuts or transitions into your matching road plates.
Proper coordination between structures and roads ensures smooth visual flow and prevents last-minute layout adjustments at events.
While most members use 32×32 modules per building, you may divide the footprint however you like as long as the full 64×96 space is filled.
Building Orientation
- Buildings should ideally face all four streets
- Corner buildings should wrap two sides (similar to corner-style modular builds)
- City blocks should feel complete from every viewing angle
Sidewalk & Road Standard
RenLUG roads already include 6 stud wide sidewalks.
Buildings should extend close to the edge of their module.
Avoid adding sidewalk space on your building module unless intentionally creating:
- Outdoor dining
- Plaza space
- Extra-wide pedestrian areas
This keeps sidewalks proportional across the full layout and prevents overly wide pedestrian zones.
Scroll down for our Standard Road Plate Designs.
Official Modular Buildings Note
Official LEGO modular buildings often include built-in sidewalks that are several studs deep. When these sets are used in RenLUG layouts, they are typically grouped together in a shared section so that the wider sidewalks remain consistent across that area.
This prevents uneven sidewalk widths from appearing randomly throughout the city and keeps transitions between modules visually clean.
If you are bringing official modulars without modification:
- Please note this when signing up
- Provide the footprint dimensions
- Indicate how many studs of built-in sidewalk are present
This allows layout planners to position them appropriately within the city.
Connections
- Technic connections between buildings are optional
- Once roads are connected, buildings stay secure
- If using pins, match official LEGO modular spacing and/or the standard MILS plate connections.
Open Block Space
Open space inside the block should make sense, such as:
- Alleyways
- Parking areas (connected to streets)
- Green space
- Service entrances
- Backyard(s)
- Parking lots (connected to outside roads)
- Courtyards or similar realistic features
These details enhance realism and reward close viewing at shows.
Flexible Building Sizes
- Buildings are typically 32×32
- They may be 16×32, 48×48 or combined widths
- Any size is allowed as long as the block module totals 64×96 studs
- If leaving gaps, make them 16 or 32 studs wide to allow another member’s building to fit easily
Non-Standard Block Sizes
Non-standard block sizes can absolutely be accommodated in most RenLUG layouts — we just need advance notice.
If you are bringing:
- A larger footprint
- An irregular shape
- A partial block
- A specialty structure (train station, park, waterfront, etc.)
Please provide the exact stud dimensions (length × width) when signing up for the event or during the layout planning process.
Advance sizing allows the layout planner(s) to:
- Allocate proper table space
- Integrate roads and track cleanly
- Maintain overall modular flow
RenLUG layouts are designed to be flexible and collaborative — communication is the key to making everything fit seamlessly.
RenLUG Build Philosophy
Our collaborative city diorama builds reflect RenLUG’s mission:
- Creativity
- Engineering principles
- Structural integrity
- Modularity
- Collaboration
Whether you’re building a skyscraper, museum, train station, apartment complex, fantasy storefront, or STEM-inspired structure — thoughtful design and clean integration matter more than size.
Standard Road Plate Designs
NOTE: see RenLUG standards below, as some of our road striping is slightly different than these.
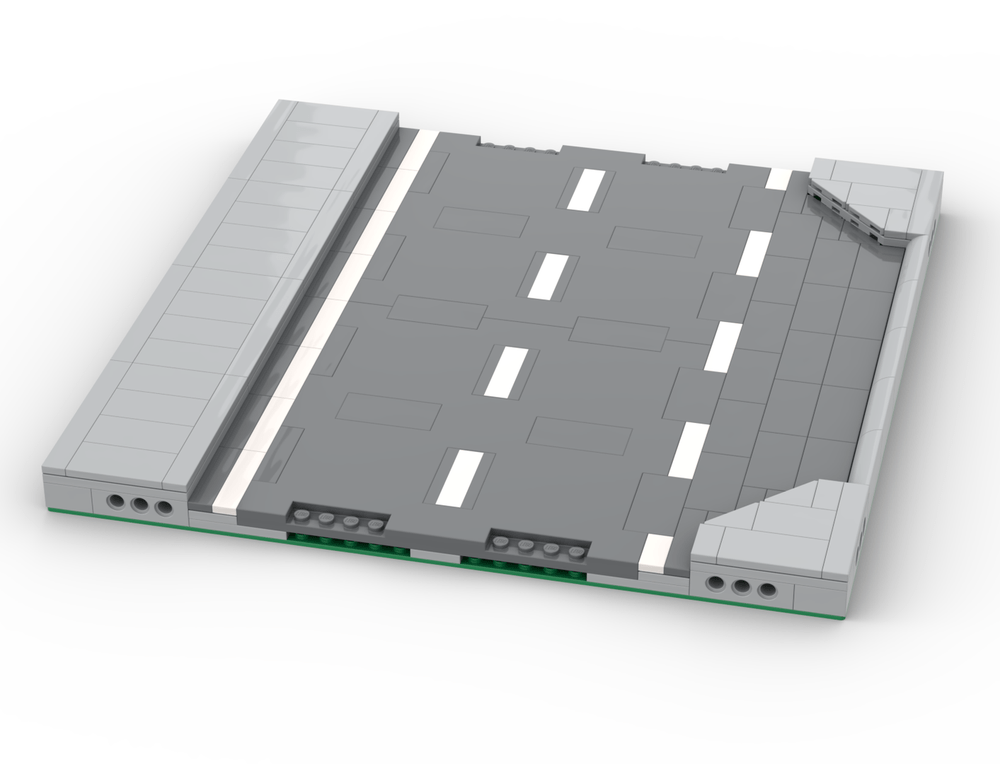
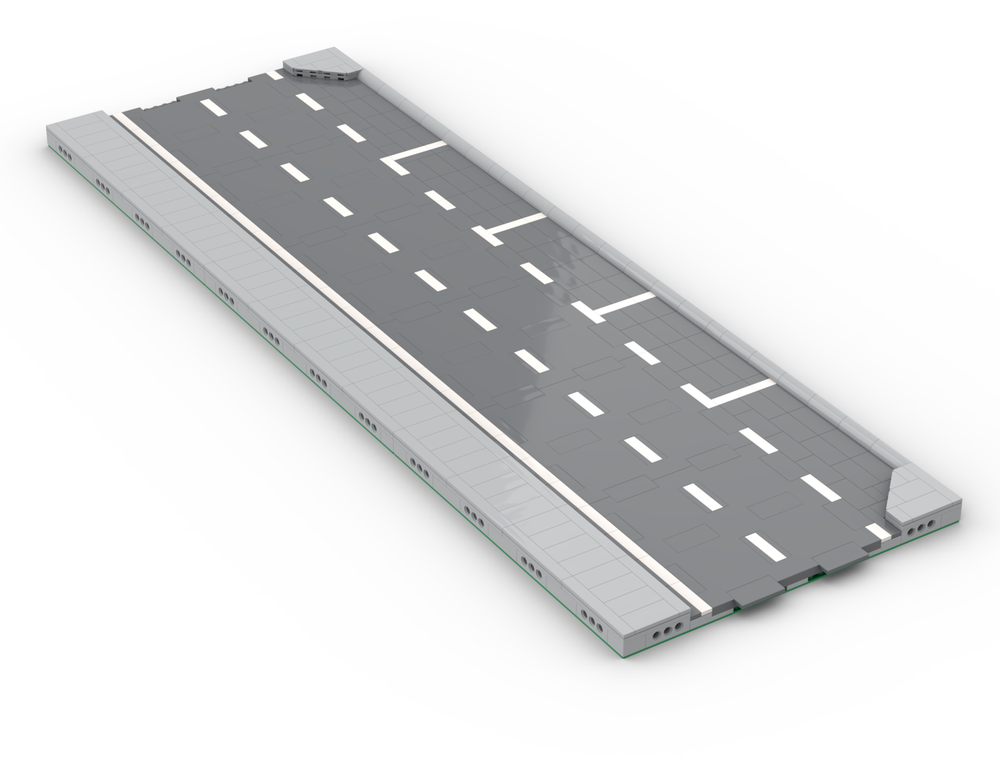
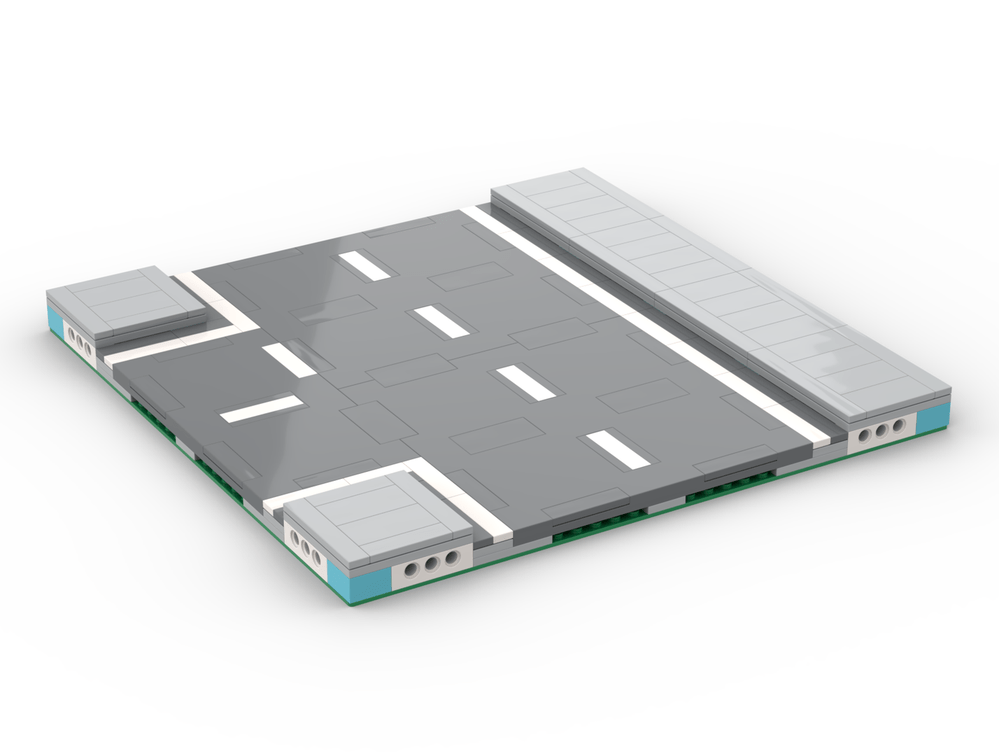
32×32 MILS Plate Straight Road
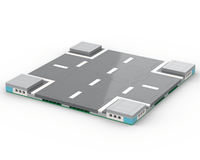
32×32 MILS Plate Crossroad, 4-way Intersection
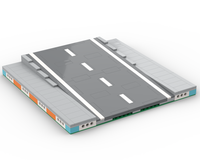
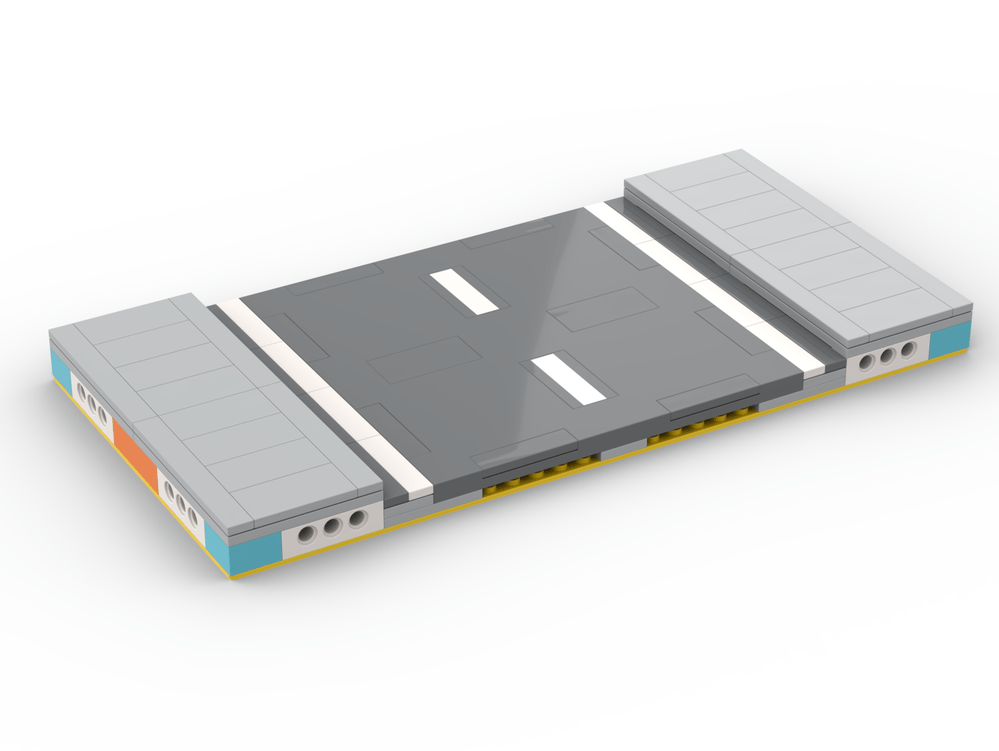
32×32 Single Space Parking – Good for Bus Stops of dedicated Food Truck Parking
3x – 32×32 MILS Plate Parking Area. Two ends + center section, modular.
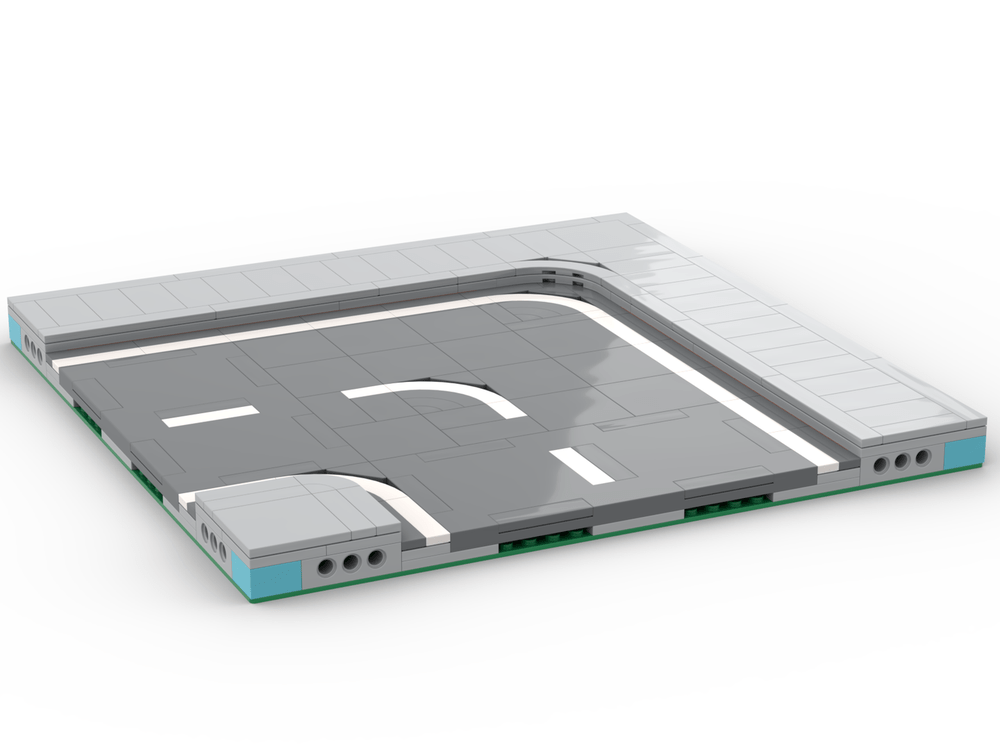
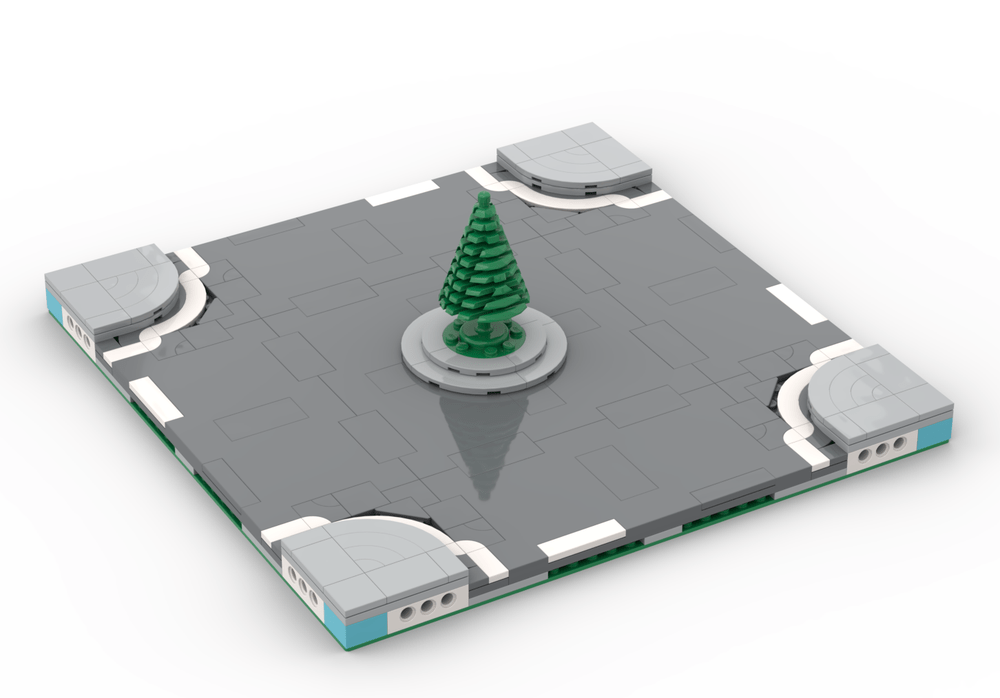
32×32 MILS Plate Curve or Corner Road
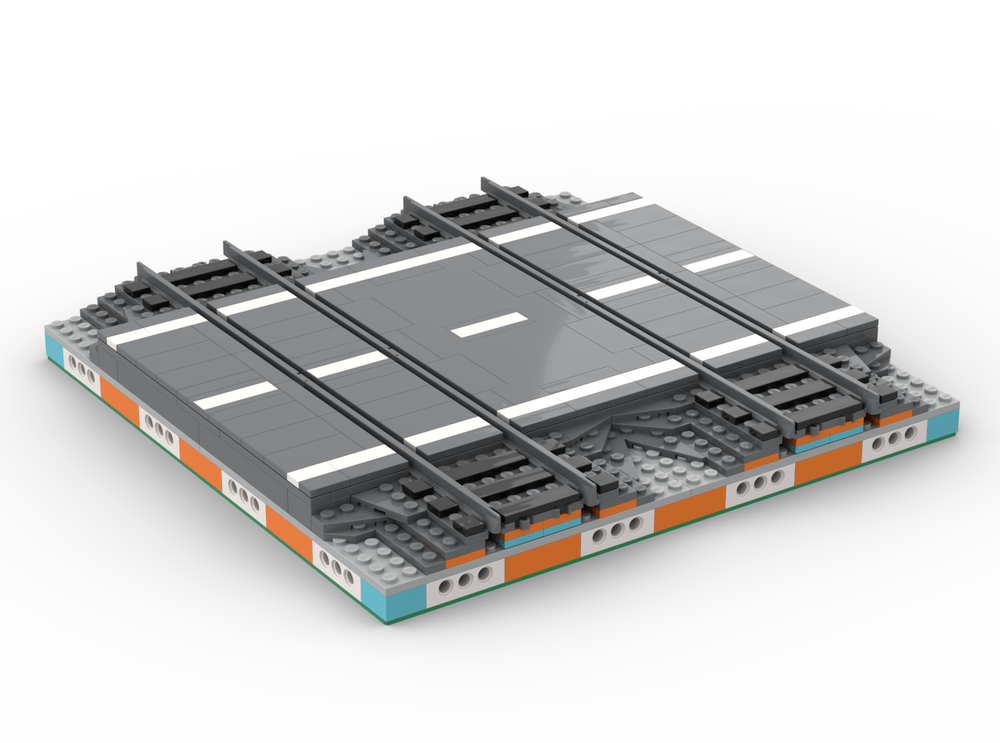
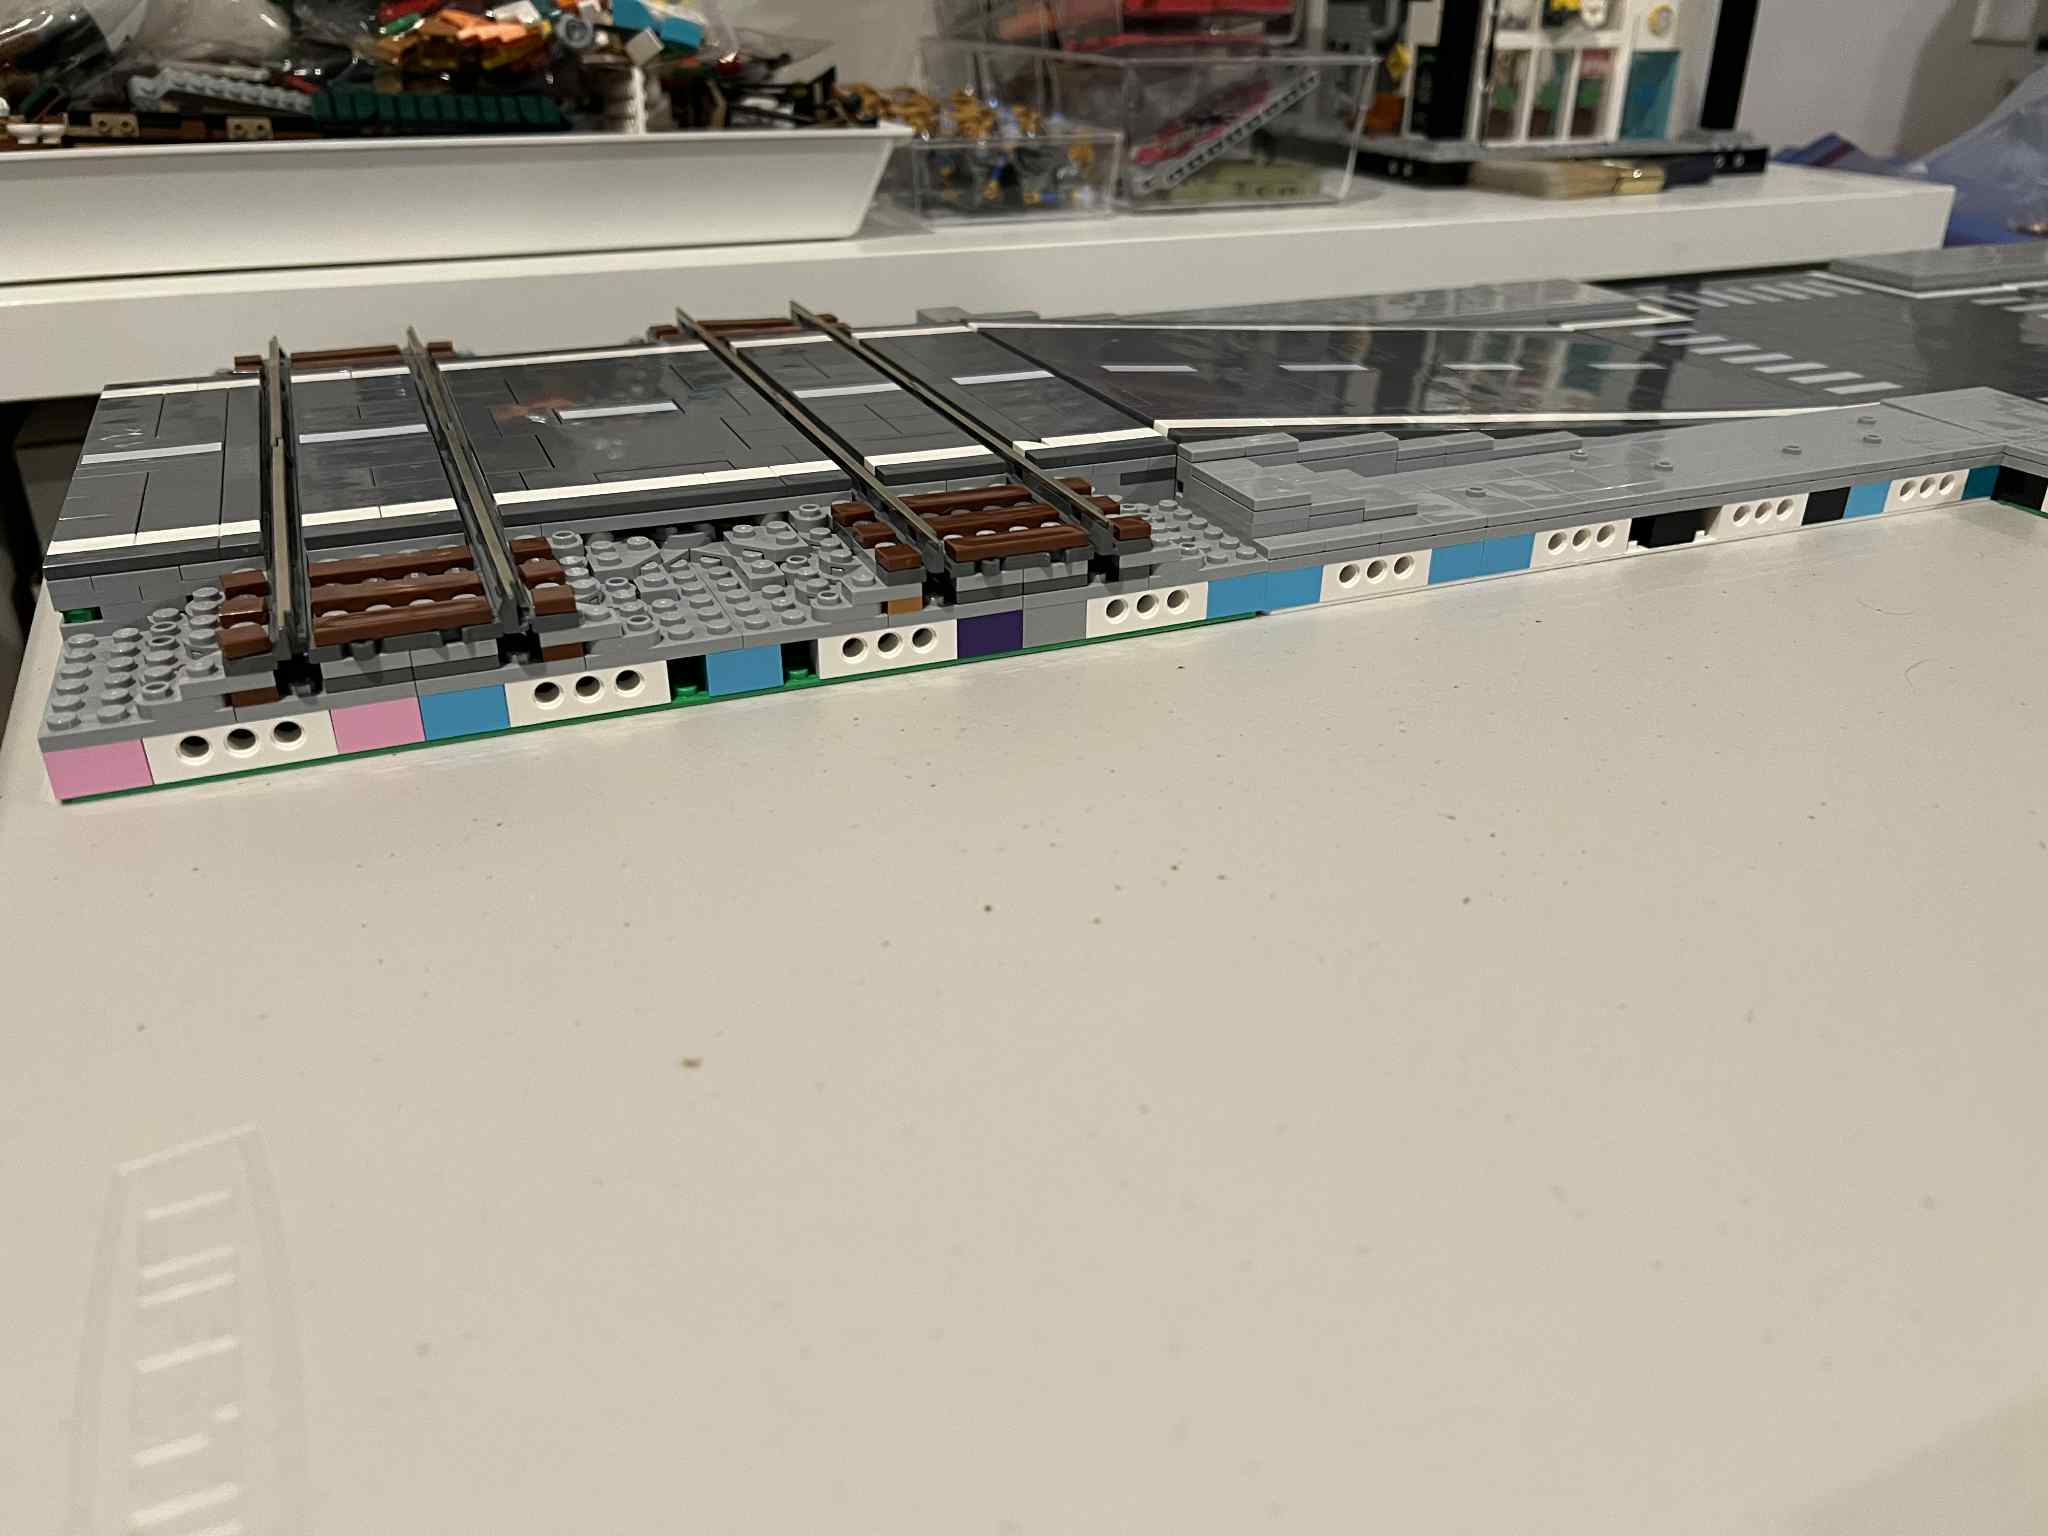
32×32 MILS Plate Railroad Crossing. Use with Road Ramp.

32×32 MILS Plate to L-Gauge MultiRoads Adaptor Plate – only needed when combining with LUGs who use that system as their standard.
Roads and Sidewalks
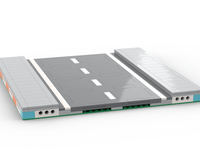
RenLUG’s collaborative LEGO city displays are designed to be modular, consistent, and easy to expand. Our standards are based on a system developed by Smudge on Rebrickable, which adapts the official LEGO City Road Plates (set 60304) into a MILS-compatible, builder-friendly format. This approach ensures that every member’s module can seamlessly connect with others, while still allowing space for creativity and scene-specific customization. This modular road system that accommodates both 4-wide and 6-wide vehicles on our city streets.
Note: Members are responsible for the road section in front of their own builds. While the overall look should stay consistent, builders are welcome to adapt the road to include driveways, crosswalks, intersections, or other special features that enhance their scene. Just make sure transitions to neighboring modules remain smooth.
Road Standards
RenLUG’s modular road system builds on the design of LEGO City Road Plates (set 60304), but the baseplates are enlarged by 2 studs to enhance detail and functionality. Roads are constructed on 32×32 baseplates and include both the road surface and sidewalks.
Standard Road Module Features:
- Total Width: Enlarged by 2 studs compared to the LEGO plates, allowing for:
- 1 stud for an edge lane striping (typically white, but occassionally yellow) along the outer lane edge.
- 1 stud for a curb or shoulder beside the sidewalk. (dbg to match the road color).
- Lane Width: Two 6-stud-wide lanes for 4-wide and 6-wide vehicle compatibility.
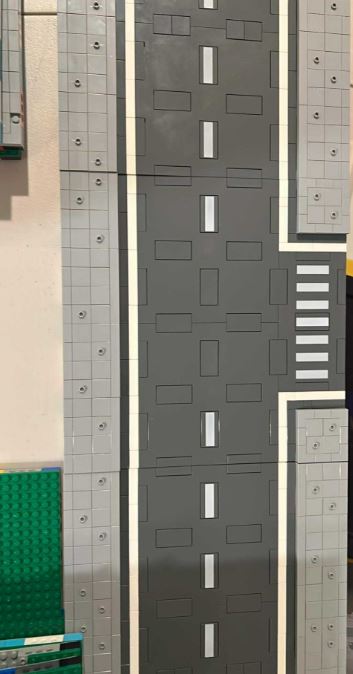
- Road Surface: Dark bluish gray tiles or plates, with the white center stripe already integrated from the original LEGO road plates.
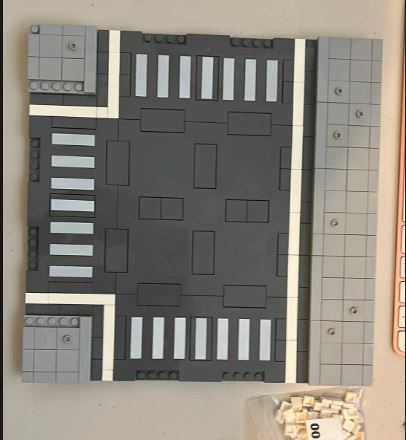
- Intersections have special striping considerations: No stripes are used in the center of any intersection, only the outer 2 stripe positions are used.
- 4 way intersections with 4 crosswalks have no stripes
- 4 way intersections with 0 to 3 crosswalks do not have the center two stripes in either direction, only the outer most stripe positions are used.
- 3 way aka T-intersections have no stripes on the two center positions. They do have stripes on the two outer positions, to narrow the non-striped area to just the road width. The outside stripes may be inside a crosswalk depending on which version you build.
- Stop stripes are not used
- Sidewalks: 6 studs wide on each side (see sidewalk standards below).
- Elevation: MILS standard, raised one brick plus one plate.
Customization Guidelines:
Builders are responsible for the road section in front of their builds and may adapt it with driveways, crosswalks, or other features, as long as the module connects cleanly with neighboring sections.
Sidewalk & Street Light Standards
Sidewalks are an essential part of RenLUG’s city layout, providing pedestrian space and visual consistency across modules. Sidewalks are intergraded into the road plates! Each standard sidewalk section includes:
- Width: 6 studs wide along each side of the road.
- Surface Color: Tiled in light bluish gray.
- Edge Tiles: A clean border using 1xX tiles (typically 1×4 or 1×8) along the outer and inner edges.
- Center Tiles: Filled with 2×2 or 2×4 tiles for the main walking surface.
- Jumper Plates (Optional, but Highly Recommended)
- Jumper plates are strategically placed on sidewalks to allow easy attachment of minifigures or street furniture such as benches, traffic signals, fire hydrants, mailboxes, and other urban details.
- For ease of packing and transportation, most members remove these street elements before stacking road plates. The jumper plates remain in place, making it quick and easy to reattach and rearrange the details for events or displays.
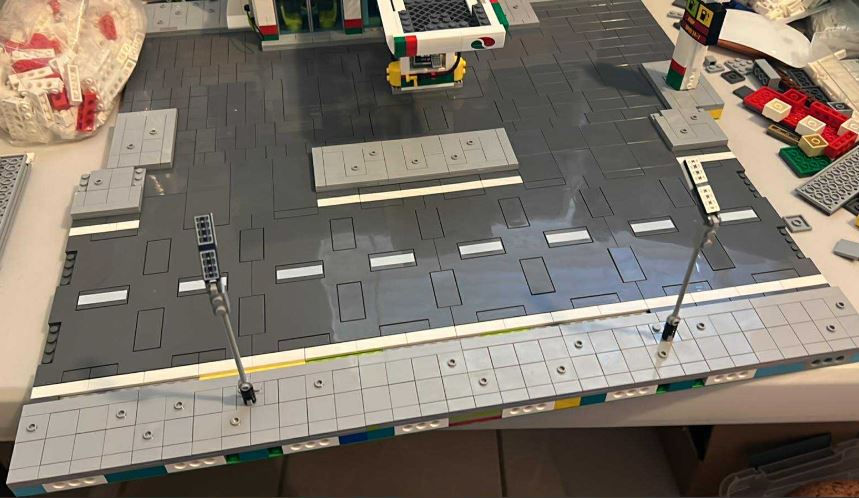
- Street Lights: (Optional, but Highly Recommended)
- Street lights should be embedded in the sidewalk at the center of the baseplate, placed on studs 16 & 17. This positioning requires the use of two 1×2 tiles and should be located one stud in from the roadside edge of the sidewalk.
- The standard street light element is found in LEGO® City Road Plate set #60340.
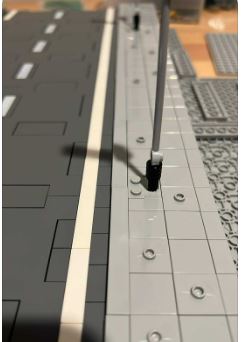
- For packing and transport, most members detach the street light at the black connector, leaving the light bluish gray base in place. This method maintains a clean, finished look to the sidewalk – even if the street light is temporarily removed.
- Alternative Street Light Placement Locations:
- If you’re not using 1×2 tiles to perfectly center the streetlights, the preferred alternative placement is on studs 17 and 18 – this puts the lights one stud to the right of center.
- Avoid placing them on studs 16 and 17, as that shifts them one stud to the left, which is the same side as the street drains. To keep the layout balanced and visually clean, offsetting the lights to the right is the recommended approach when exact centering isn’t possible.
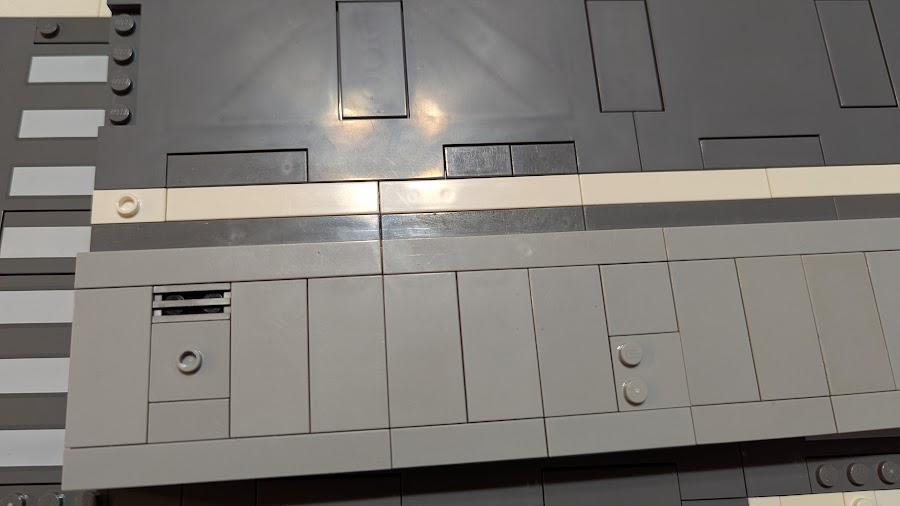
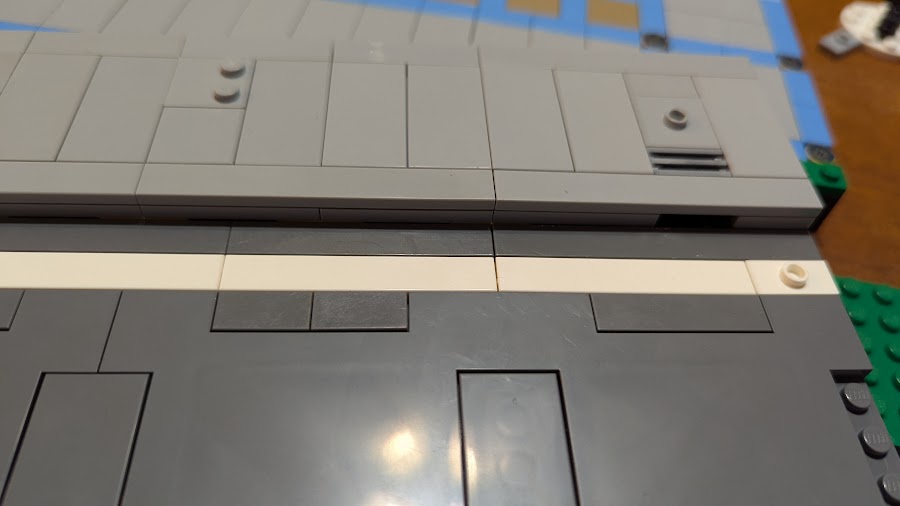
- Street Drain (Optional Detail)
- A single street drain, made using a 1×2 grate, is placed near the left curb at studs 3 and 4, following the placement style of classic LEGO® baseplate roads.
- Drains can be added to one or both sides of a road plate, but should always remain on the left side. This ensures that no two drains ever appear directly across from one another, preserving a realistic and intentional layout.
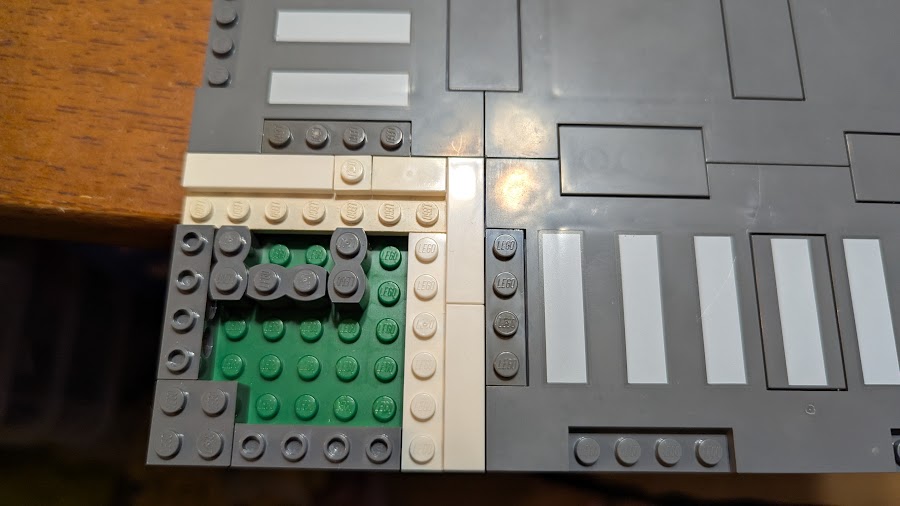
- Some members enhance this detail by building a “functional” street drain with a curb cut on the street-facing side.
- See example photos below for inspiration.
- Alignment: Sidewalks should line up with neighboring modules to ensure uninterrupted pedestrian paths.
Builders are encouraged to add personality through accessories, greenery, and other minifig-scale details, as long as the sidewalk remains clear and connectable.
Member-Built Roads: RenLUG Examples


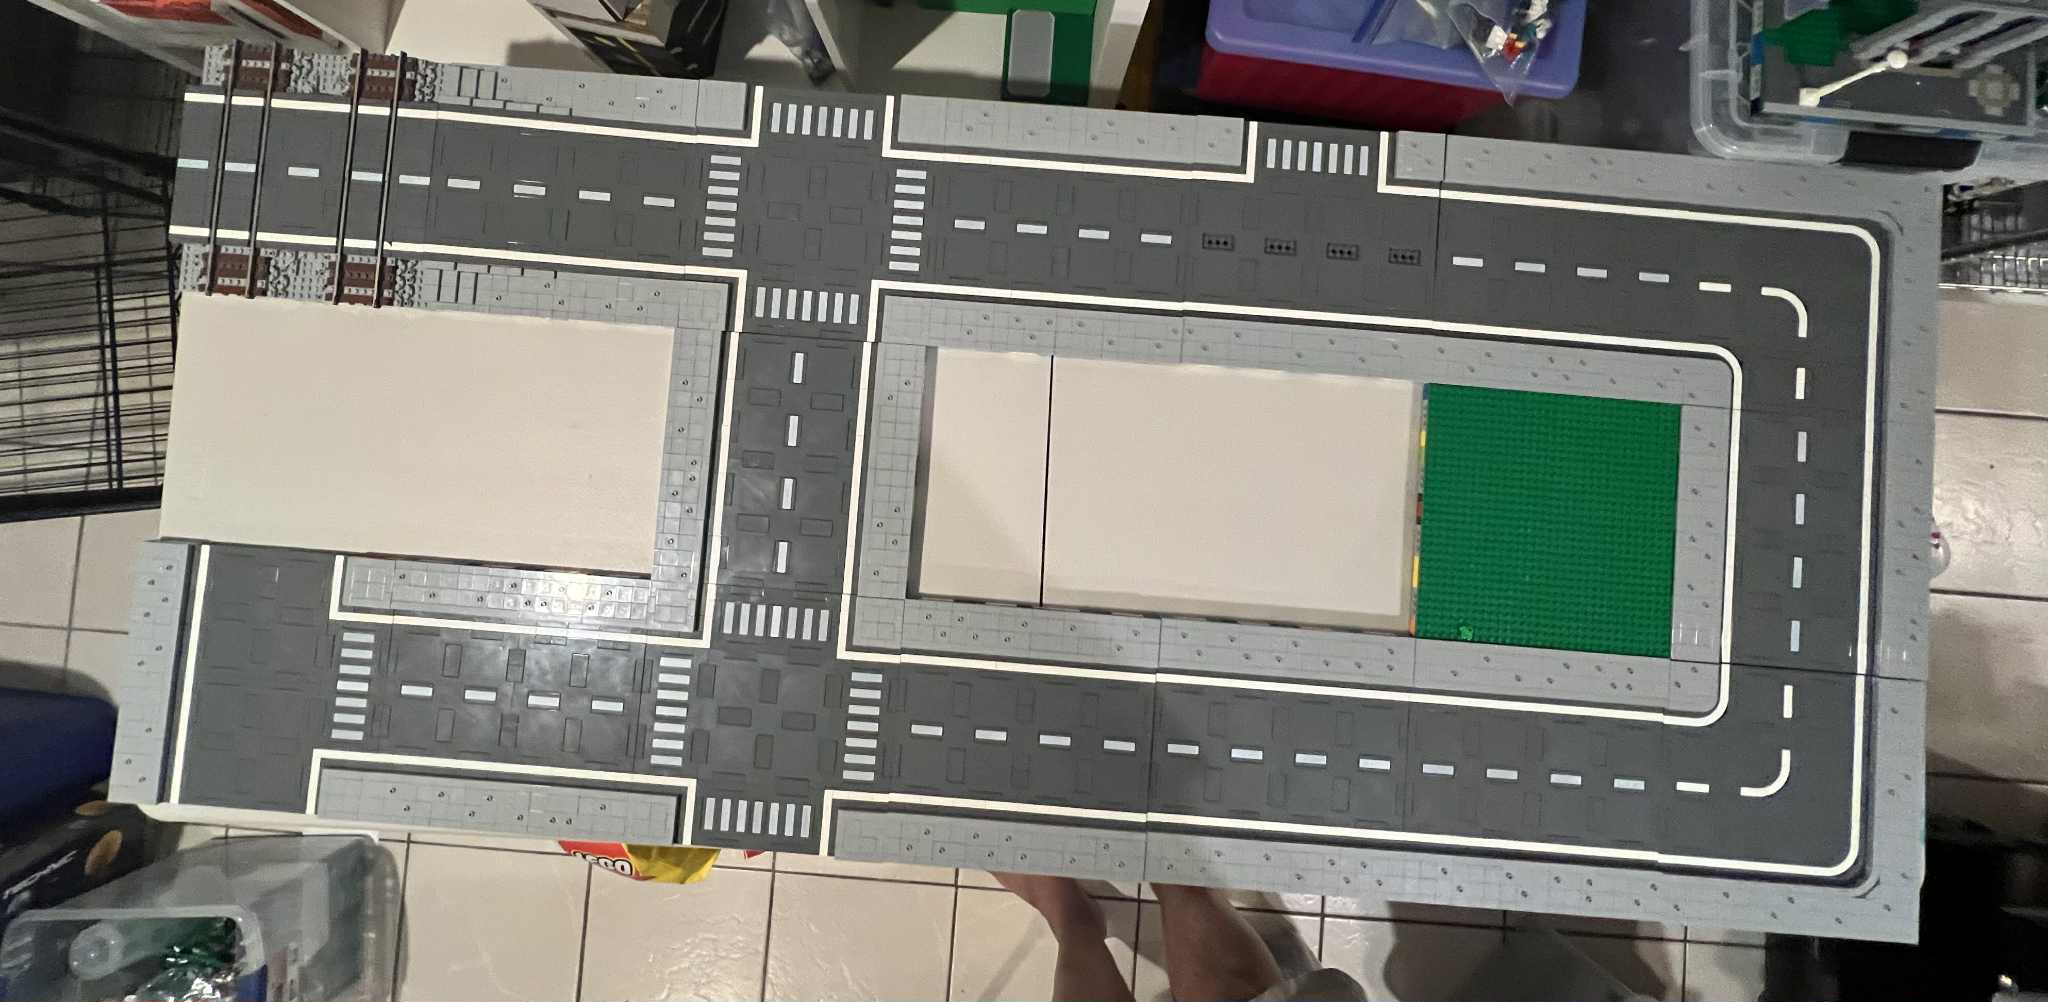
Street Light Placement
Picture shows two baseplates, each with a perfectly centered street light.
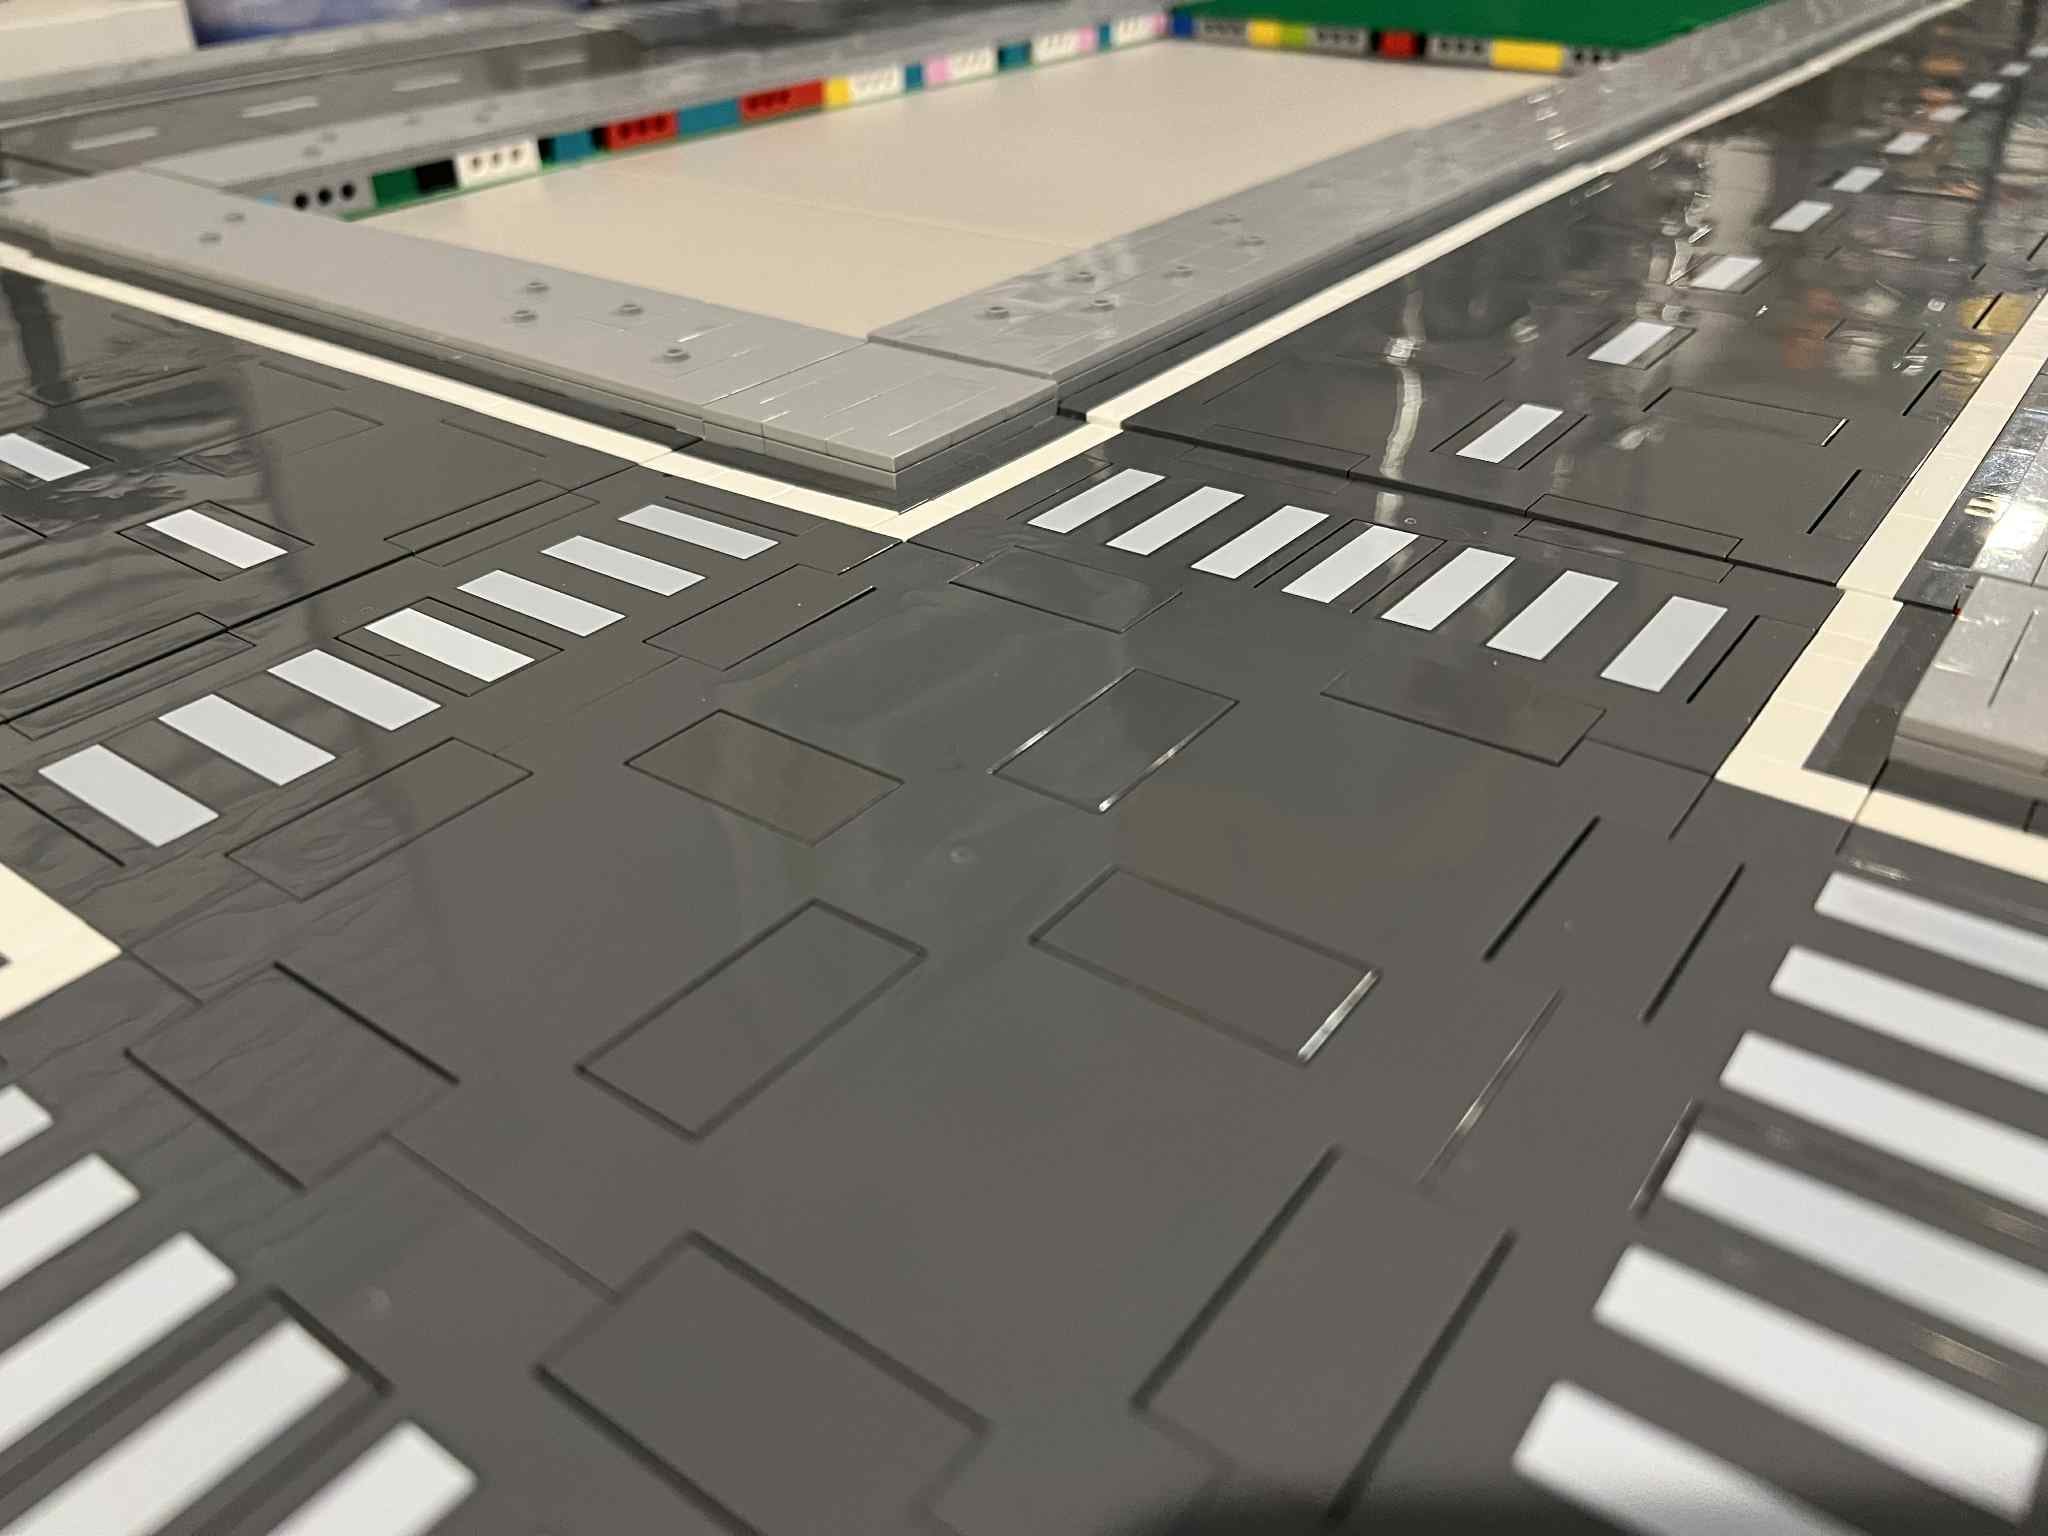
Intersection Striping Examples
Street Drain Examples
Placement, Curb Cut Out, Framing for “Functional” Street Drain